 Football
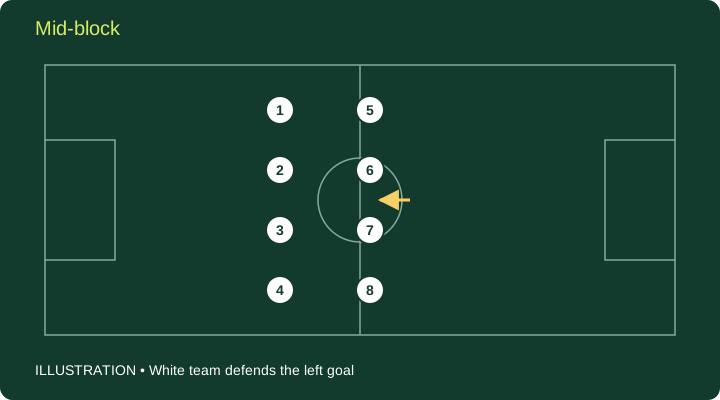
A mid-block prioritizes defending the middle of the field. The team stays connected to restrict passes and carries through its lines.
Reading the diagram
Watch when the first line begins to press. The diagram places the block around midfield, unlike a low block close to goal.
This original FootballCap diagram does not depict a real match. Green and white markers distinguish the teams. Solid lines show movement; dashed lines show passes where present. Positions are not drawn to real-world distance scale.
Common misconceptions
A mid-block does not mean standing still on the halfway line. The unit can move with the ball, retreat, or step up as the game develops.
Try it yourself
Pull the first presser out of the line and find the covering player. If nobody adjusts, which passing lane opens between the lines?
Keep observations separate from explanations. Test tactical ideas on the tactics board. For metrics, establish the definition and data source before calculating.
Related terms
References
- Coaches’ Voice — The mid-block
Source checked: 2026-09-09
Links for further reading; source images, videos, and data are not reproduced.